Did you buy a new Mac and now you’re worried about how to transfer all necessary files, applications, and settings from your old computer? Fortunately, Apple has made this process remarkably simple.
In this guide, we’ll show you how to use Migration Assistant, Time Machine, and direct cable connection to safely transfer data. We’ll also look at common problems and their solutions to ensure your data transfer proceeds smoothly.

Preparation Before Data Transfer
Before starting, make sure that:
- Both computers are connected to power
- All necessary system updates are installed
- You have enough disk space on the new Mac
- You’ve backed up your old computer’s data just in case
Proper preparation helps avoid later problems and makes the whole process smoother.
Migration Assistant – The Easiest Way to Transfer Data
Apple’s Migration Assistant is a specially created tool that allows you to transfer user accounts, applications, documents, and system settings from one computer to another.
Mac-to-Mac Transfer
- Connect the computers: Use a Thunderbolt, USB-C, or Ethernet cable to connect the computers. Thunderbolt connection offers the fastest data transfer.
- Launch Migration Assistant:
- On the new Mac: Go to the “Other” category in Launchpad or use Spotlight search (⌘+Space) and type “Migration Assistant”
- On the old Mac: Launch Migration Assistant the same way
- Follow the instructions:
- On the new Mac, select “Transfer from a Mac”
- On the old Mac, select “Transfer to a new Mac”
- Verify that the same security code appears on both screens
- Select data to transfer: Choose user accounts, applications, documents, and other settings you want to transfer.
- Start the transfer: Click “Continue” and the transfer begins. Depending on the amount of data, this can take from a few hours to several hours.
Transferring from a Time Machine Backup
If you have a Time Machine backup, you can transfer data from it to your new Mac:
- Connect the Time Machine hard drive to your new Mac
- Launch Migration Assistant
- Select “From a Time Machine backup” or “From a startup disk”
- Select your Time Machine backup
- Select the data to transfer and continue with the process
PC-to-Mac Transfer
Starting with macOS Sonoma, Apple has made PC-to-Mac transfer even simpler, enabling wireless Wi-Fi connection:
- Ensure your PC has Windows 8 or later
- Download and install Windows Migration Assistant on your PC
- Launch Migration Assistant on both computers
- Follow the on-screen instructions to select and transfer data
Choosing the Best Transfer Method
Different methods have their advantages. Here are the main options:
- Thunderbolt/USB-C: Best choice for Mac-to-Mac transfer, very fast data transmission
- Time Machine: Good backup option, medium speed
- Wi-Fi: Convenient but slower; suitable for both Mac-to-Mac and PC-to-Mac transfers
- Ethernet: Fast alternative when Wi-Fi doesn’t work well
A direct connection with a Thunderbolt cable is usually the preferred method, as it offers the fastest and most reliable data transfer.
Common Problems and Troubleshooting
Migration Assistant Freezes or Stops Working
If Migration Assistant gets stuck on “Updating system settings”:
- Close the program and restart both computers
- Try using a direct Thunderbolt cable connection instead of Wi-Fi
- Turn off all firewall and antivirus software during the transfer
According to Apple support forums, many users have reported that direct connection via Thunderbolt cable resolves most issues, especially with large data volumes.
Time Machine Backup Doesn’t Appear in Options
If your Time Machine backup doesn’t appear in Migration Assistant options:
- Make sure the external drive connection is working properly
- Check if the backup is in sparse bundle format (sometimes causes problems)
- Try connecting the backup drive first and then launching Migration Assistant
Applications Don’t Work After Migration
Some applications may need to be reinstalled or updated after migration:
- Check if your application versions are compatible with the new macOS version
- Install all operating system updates
- Check if the applications are Apple Silicon (M1/M2/M3) compatible, if you have a newer Mac
Many users have found that migrating only data and reinstalling applications gives the best results, especially when moving from an Intel processor Mac to an Apple Silicon (M-series) processor Mac.
Alternatives to Migration Assistant
If Migration Assistant doesn’t work for you, consider these alternatives:
- Carbon Copy Cloner or SuperDuper – professional users often find these more reliable alternatives
- iCloud Drive or Dropbox – manual file transfer via cloud storage
- External drives – copy files directly to an external drive and then to your new Mac
After Migration
When data transfer is complete, do the following:
- Check if all important files have been transferred
- Update applications that need updating
- Log in to your email and cloud storage accounts
- Set up your password manager and other daily applications
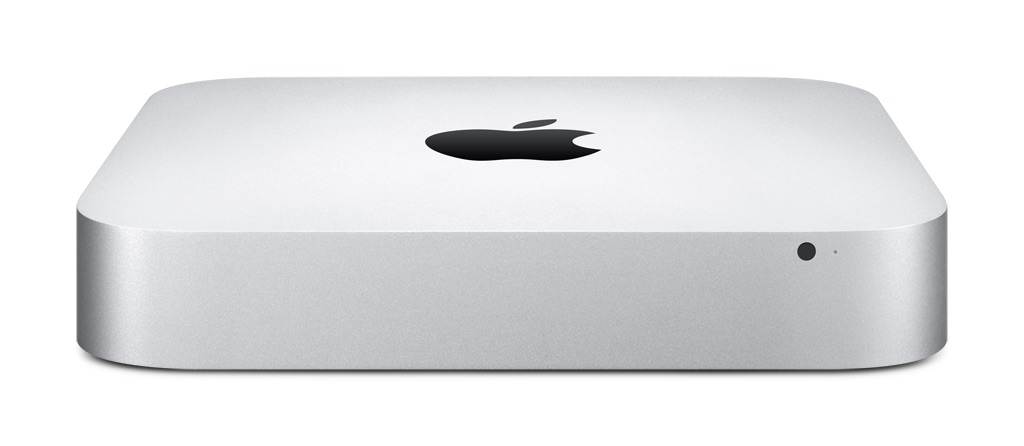
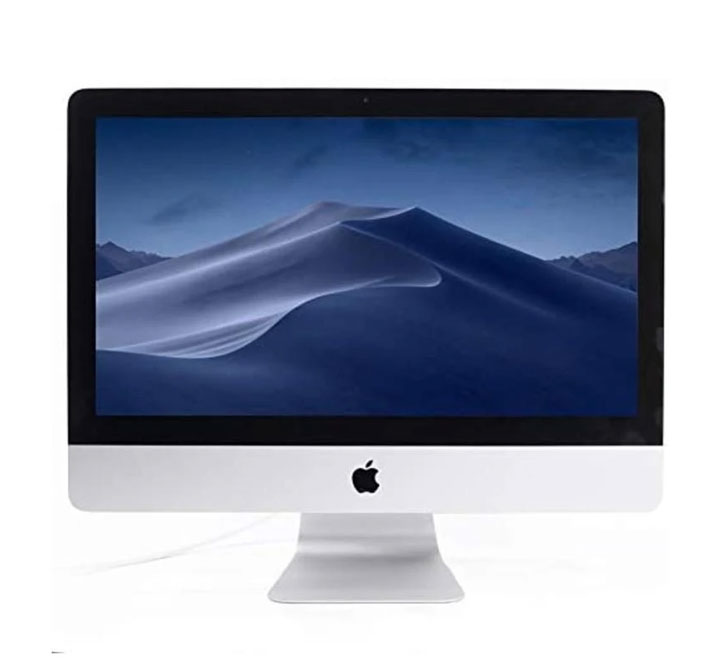
Refurbished Mac – An Affordable and Eco-Friendly Choice
Did you know that instead of a new Mac, you can also choose a refurbished Mac? This is an affordable and environmentally friendly choice, especially if you don’t need the latest model. UPGREAT’s refurbished Macs are thoroughly checked, tested, and come with a 2-year warranty.
Browse our selection of refurbished Macs and find a suitable model at a better price. All our Macs have undergone thorough technical inspection and their screen, battery, and all functions work perfectly.
If you need a keyboard, mouse, chargers, or cables for your Mac, you can also find those in our e-store.
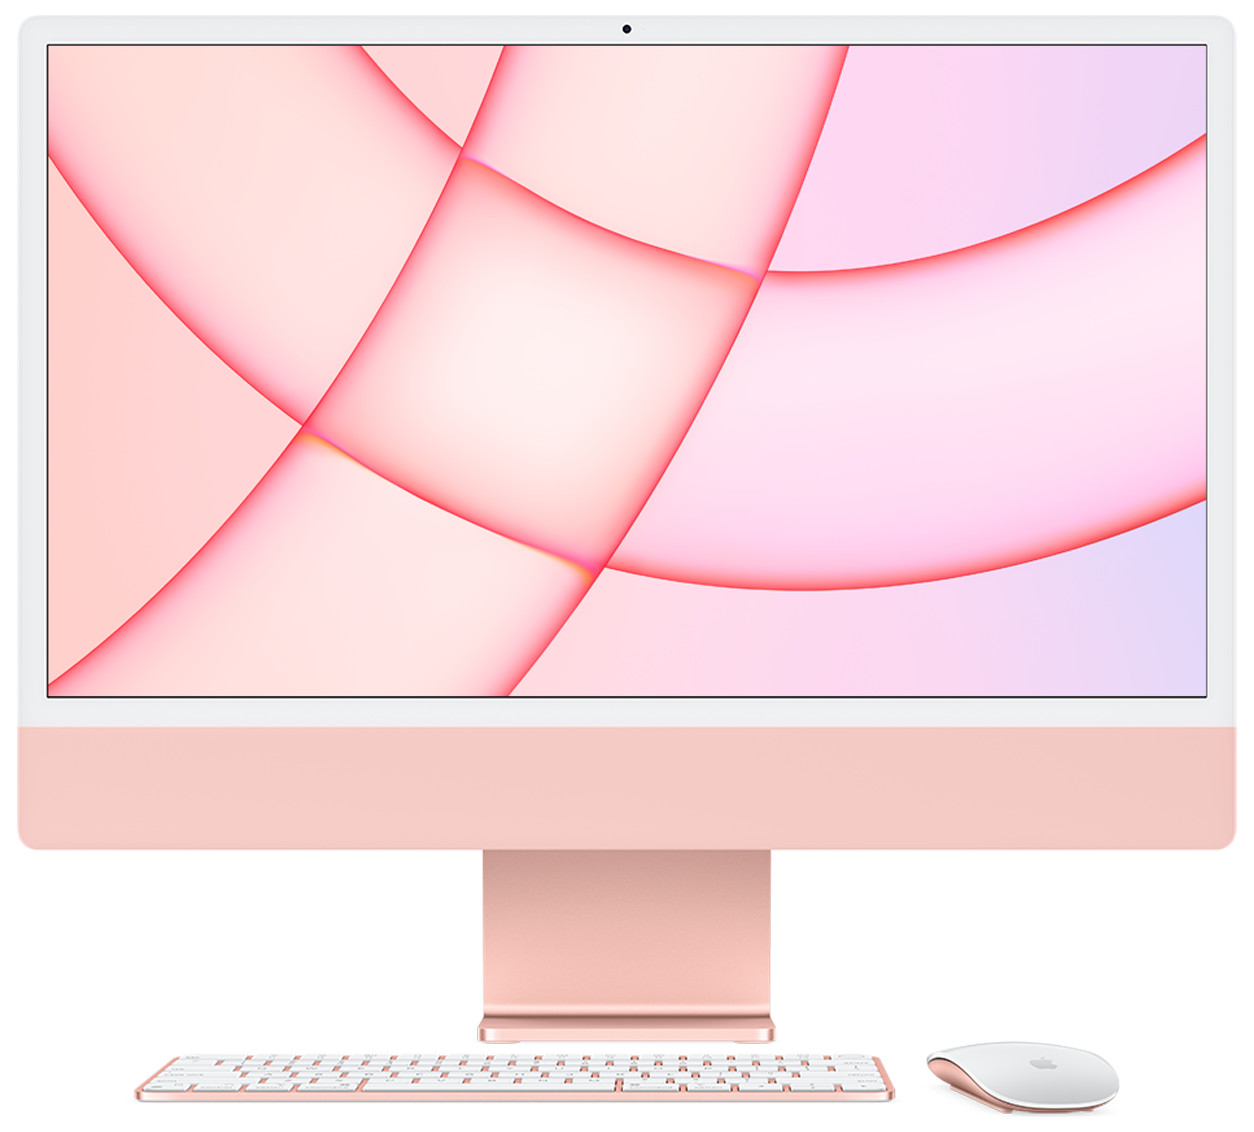
When Is the Right Time to Switch from a MacBook to an iMac or Mac Mini?
If you’ve been considering different Mac models, we recommend checking out our comprehensive comparison iMac vs Mac Mini vs Mac Studio. It’s also worth exploring the Intel Mac vs Apple Silicon comparison to understand the differences between older and newer processor Macs.
Students should definitely check out our guide on which Mac is suitable for students.
Transferring data from an old computer to a new one doesn’t have to be a complicated process. Apple’s tools make it easier than most people think, and by following our guidelines, it can be done without losing important data.
Check out our blog where we share overviews of trends and news. Find us @ upgreat.ee
To keep up with Upgreat promotions, add us as a friend on FB or follow us on Instagram.