Do you dread the “Your disk is almost full” notification popping up just as you’re about to save an important document or download a critical update? It’s a frustratingly common problem, but the solution is often simpler than you think. Below, you’ll find a practical guide on how to check your Mac’s storage, clear out the junk, and optimize your drive.

How to Check Available Storage
Before you start deleting things, it’s important to understand exactly what is hogging your hard drive space. Apple makes finding this information easy, though the steps vary slightly depending on your macOS version.
On newer operating systems, such as macOS Ventura and Sonoma, go to System Settings > General > Storage. Here, you will see a color-coded graph that clearly breaks down usage into categories like applications, documents, system data, and trash.
If you are using older software (macOS Monterey and earlier), click the Apple logo in the top left corner of the screen, select About This Mac, and then click the Storage tab. While you can right-click your hard drive icon in Finder and select “Get Info” for a quick look at total capacity, that method won’t give you a detailed breakdown of file types.
Use the Built-in macOS Optimizer
The safest way to reclaim space is to use Apple’s built-in “Optimize Storage” tool. Under your storage settings, you will see recommendations that handle much of the cleanup work for you. The Store in iCloud feature moves rarely used files and photos to the cloud, keeping only optimized versions and recently opened documents locally on your computer.
It is also worth turning on Empty Trash Automatically, which ensures that files in the trash are permanently deleted after 30 days. Additionally, the Reduce Clutter option helps identify large files you haven’t opened in a long time, making it easy to review and remove them to save valuable space.
Clearing Cache and Temporary Files
Over time, your computer accumulates a massive amount of temporary files—known as *cache*—created by apps and the system to speed up performance. However, if space is critically low, these files can become a burden. Removing them is generally safe, provided you do it correctly.
To manually clear the cache, open Finder, select Go > Go to Folder from the menu bar, and type `~/Library/Caches`.
In the window that opens, you will see folders named after various applications. You can delete the contents of the folders taking up the most space, but we recommend keeping the folder structure itself. This process can free up several gigabytes of space, especially if you frequently use web browsers or design software. After cleaning, it is strongly recommended to restart your computer so the system can generate fresh cache files as needed.
What to Do If “System Data” Takes Up Too Much Space?
Many users are shocked to find a large portion of their disk capacity occupied by a gray category called “System Data” (labeled “Other” in earlier versions). This category includes log files, plugins, and very often local Time Machine backups, known as *snapshots*.
If you notice this category is abnormally large, the culprit is often a pending Time Machine backup that hasn’t finished syncing to your external drive. Connect your external backup drive to the computer and let the backup run to completion. This often frees up a significant amount of space, as macOS will automatically purge the local temporary copies once they are safe on the external drive.
When Is It Time to Upgrade Your Hardware?
If you have reviewed and cleaned your files but space is still tight, you may be facing a hardware limitation. It is important to know the specifics of your Mac here. On older models, it was possible to physically replace the SSD. However, newer devices—specifically Apple Silicon models known for their superior speed—have a different architecture. Their storage is soldered directly to the motherboard, meaning internal storage cannot be upgraded later.
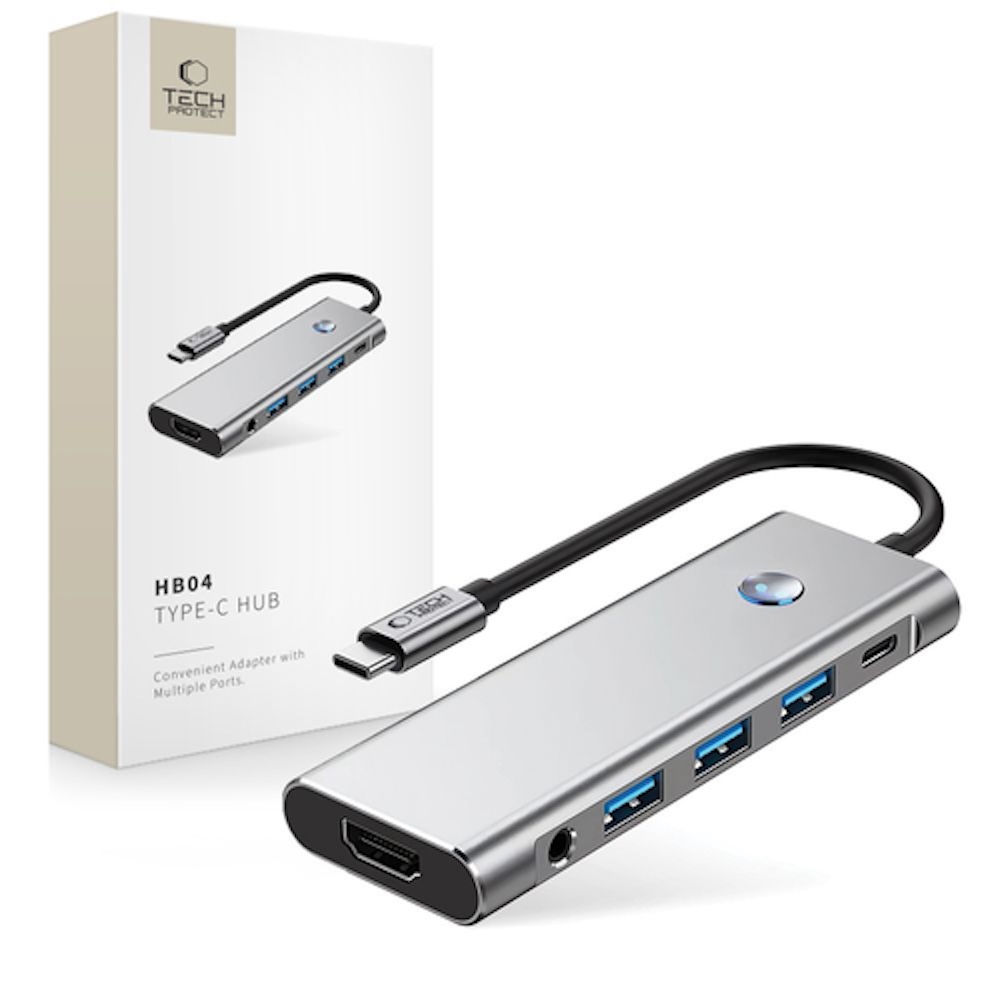
In this situation, you have two main solutions. The first is to rely on external SSDs or cloud services for large files. A high-quality USB-C hub can help seamlessly integrate external drives into your workflow.
The second, more long-term solution is to replace the device. If carrying an external drive is inconvenient and your workflow requires keeping all files locally, it makes more sense to upgrade to a Mac with a larger storage capacity. Upgreat offers a convenient device buyback service, allowing you to trade in your old device for a like-new one and pay only the difference.
Refurbished Mac – A Smart Choice for More Storage
When buying a new device, you don’t necessarily have to pay full retail price. A refurbished MacBook is an excellent alternative, allowing you to get a significantly more powerful model with more storage (e.g., 512GB or 1TB) for the same budget. Our product range includes verified devices with warranties, often just 2–3 years old—offering the ideal balance between price and top-tier performance.
Before making a purchase, we also recommend reading our guide on data transfer to make the transition to your new machine as smooth as possible.
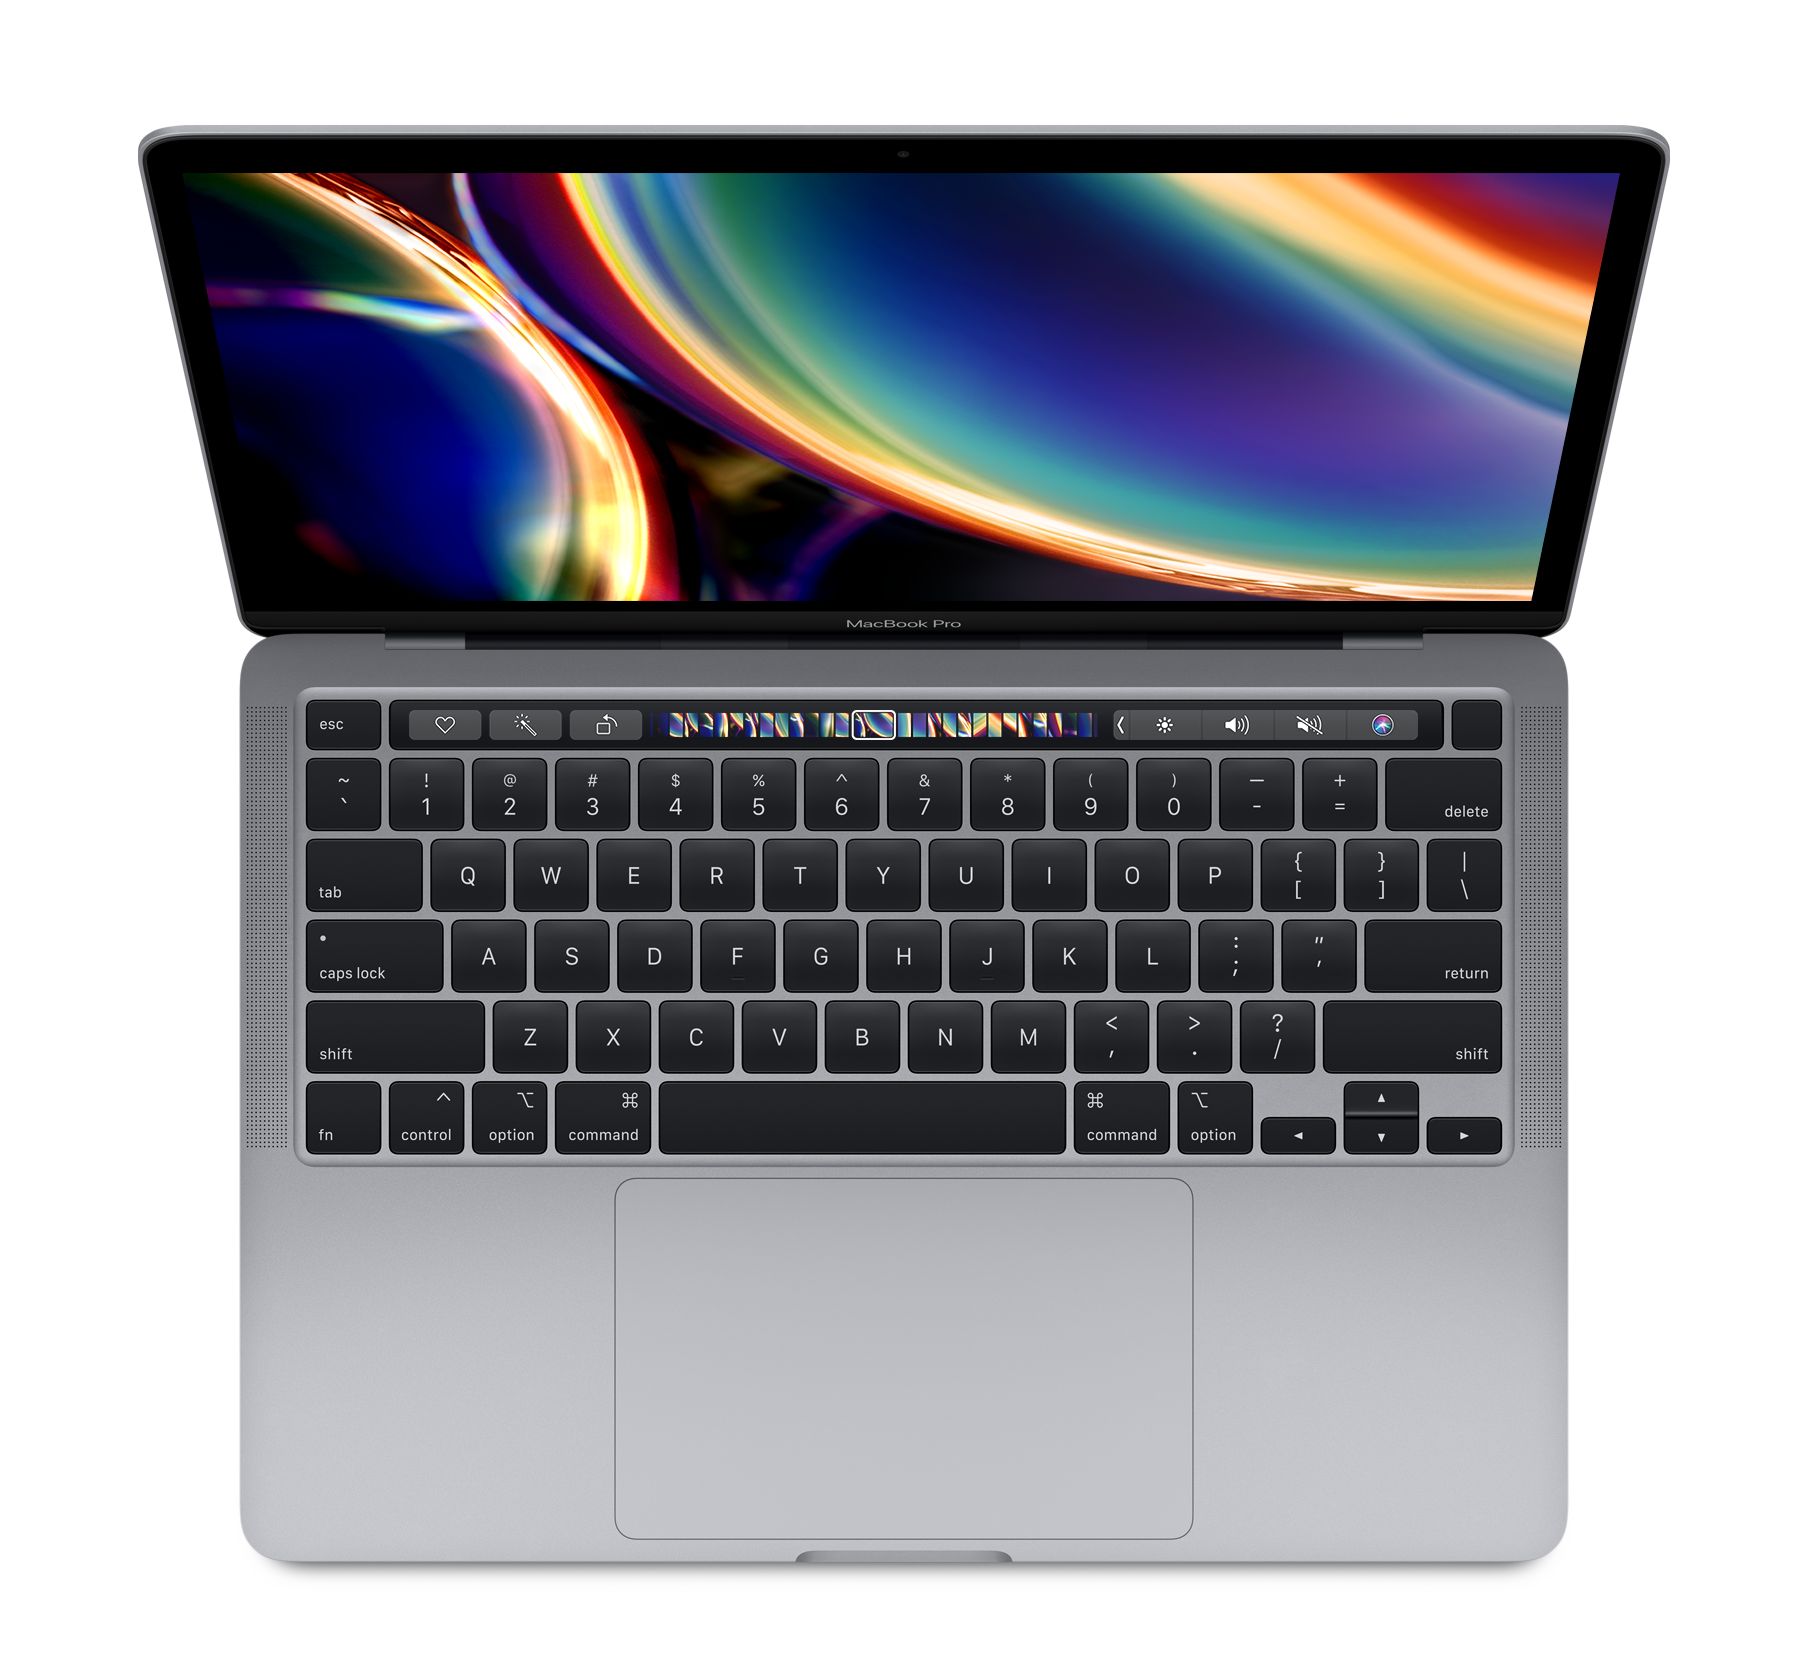
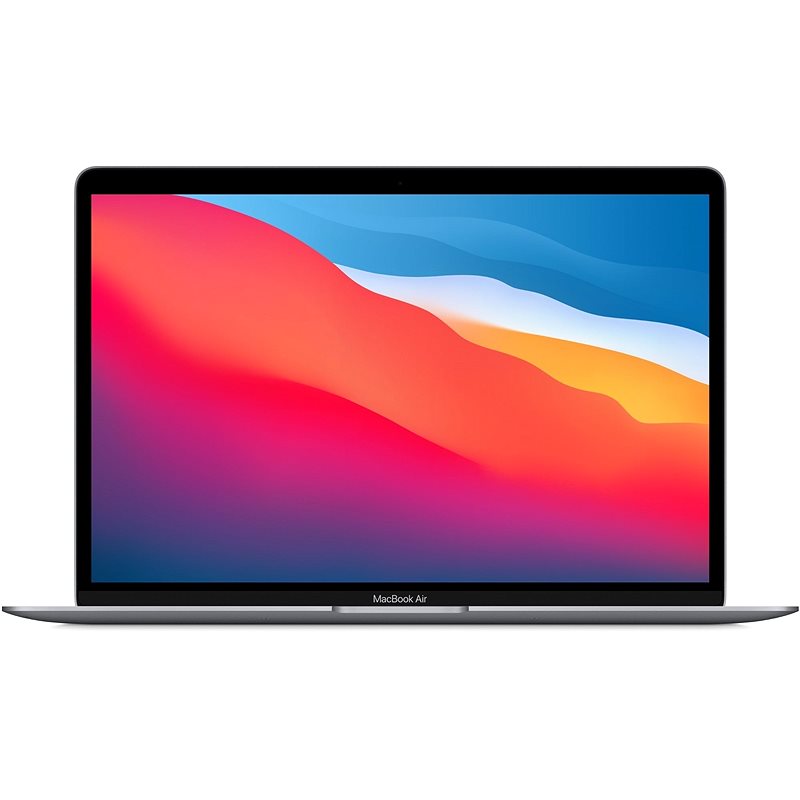
Here are some of our most popular models with larger storage capacities:

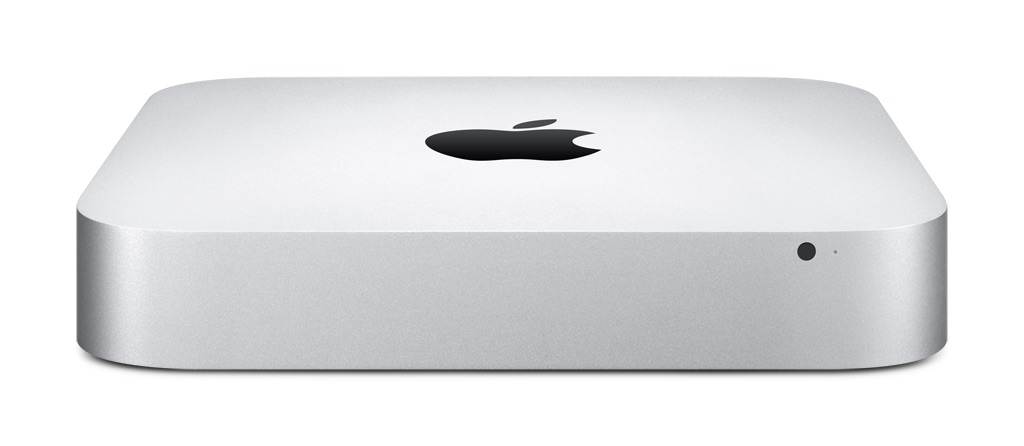
If you prefer a stationary workstation, a Mac Mini or Mac Studio is often a more affordable way to get incredible performance and high storage capacity.
Also, check out our blog for reviews on the latest trends and news.
To stay up to date with Upgreat campaigns, add us as a friend on FB or follow us on Instagram.