
Got a new iPhone but wondering how to transfer all your photos, apps and messages to the new device? Apple has made data transfer surprisingly simple if you know the right methods. Let’s explore three main ways to transfer your data quickly and securely.

Preparations for data transfer
Before you begin, make sure that:
- Both iPhones are charged (at least 50%) or connected to power
- You have enough free space on your new iPhone
- Both devices are connected to a trusted Wi-Fi network
- You have your Apple ID and password handy
1. Quick Start method – the fastest and most convenient way
Quick Start is Apple’s preferred method that allows you to transfer data wirelessly from one iPhone to another, while preserving most of your app logins.
Prerequisites:
- Both devices are running iOS 12.4 or newer
- Bluetooth and Wi-Fi are enabled on both devices
- The devices must be close to each other throughout the entire process
Step-by-step guide:
- Turn on your new iPhone and place it next to your old iPhone
- A message saying “Set Up New iPhone” will appear on your old iPhone’s screen – tap “Continue”
- An animated pattern will appear on your new iPhone – scan it with your old iPhone’s camera
- Follow the on-screen instructions, including setting up Face ID or Touch ID
- When asked, select “Transfer from iPhone”
- Continue entering your password and settings, then wait for the data transfer to complete
The Quick Start method is special because it preserves app logins better than other methods. Comparisons show that it’s particularly useful if you want to avoid re-entering all your passwords.
2. iCloud backup and restore method
If Quick Start doesn’t work or you prefer a cloud-based solution, iCloud backup is a reliable alternative.
Step-by-step guide:
- Create a backup on your old iPhone:
- Connect to a Wi-Fi network
- Go to Settings > [your name] > iCloud > iCloud Backup
- Tap “Backup Now” and wait for the process to complete
- Restore to your new iPhone:
- Turn on your new iPhone and follow the initial setup instructions
- Select “Restore from iCloud Backup” when you reach the “Apps & Data” screen
- Sign in with your Apple ID
- Select the most recent backup and wait for the restoration to complete
The advantage of iCloud backup is its simplicity and reliability, although it may take more time for larger data sets, especially if your internet connection isn’t fast.
3. Wired connection method (iTunes/Finder)
A wired connection offers fast data transfer and is an excellent solution if you have issues with wireless connectivity.
Required tools:
- Mac or PC computer with the latest iTunes (Windows) or Finder (macOS Catalina and newer)
- Lightning to USB cable
Step-by-step guide:
- Back up your old iPhone:
- Connect your old iPhone to your computer
- Windows: open iTunes / Mac: open Finder and select your device
- Select “Back up all of the data on your iPhone to this Mac/PC”
- Click “Back Up Now” and wait for completion
- Restore to your new iPhone:
- Connect your new iPhone to the same computer
- Select “Restore Backup”
- Choose the correct backup and wait for the restoration to complete
The wired connection method is particularly useful for large data volumes and works even when Wi-Fi connection is unstable or slow.
Direct connection method (iPhone-iPhone)
In newer iOS versions, you can also use a direct cable connection between two iPhones, which is a fast alternative to wireless transfer.
Required tools:
- Lightning to USB 3 Camera Adapter
- Lightning to USB cable
Step-by-step guide:
- Connect the adapter to your old iPhone
- Connect the cable to the adapter and to your new iPhone
- Follow the on-screen instructions to transfer data
This method is especially useful when wireless solutions don’t work properly.
Common problems and their solutions
Quick Start doesn’t appear or doesn’t work
- Make sure both devices are using iOS 12.4 or newer
- Turn Bluetooth and Wi-Fi off and then back on for both devices
- Check that the devices are close enough to each other
- Restart both devices
Transfer is interrupted or gets stuck
- Connect both devices to power
- Check the Wi-Fi connection stability
- If the problem persists, try another transfer method
If you need to start from scratch
If the process fails and you need to start over, delete your new phone’s data:
- iOS 15 or newer: Go to Settings > General > Transfer or Reset iPhone > Erase All Content and Settings
- iOS 14 or older: Settings > General > Reset > Erase All Content and Settings
Transferring specific data types
Photos and videos
All of the above methods will transfer your photos and videos, but if you have issues, you can also use alternative solutions:
- iCloud Photos service
- Google Photos app
- AirDrop function for smaller collections
Contacts, calendar and messages
All transfer methods support these data types. To preserve iMessage history and SMS messages, it’s important to make a complete device backup.
Apps and their data
Apps are automatically installed along with their data with all transfer methods, but logins are best preserved with the Quick Start method.
When to choose a refurbished iPhone and how to transfer data securely
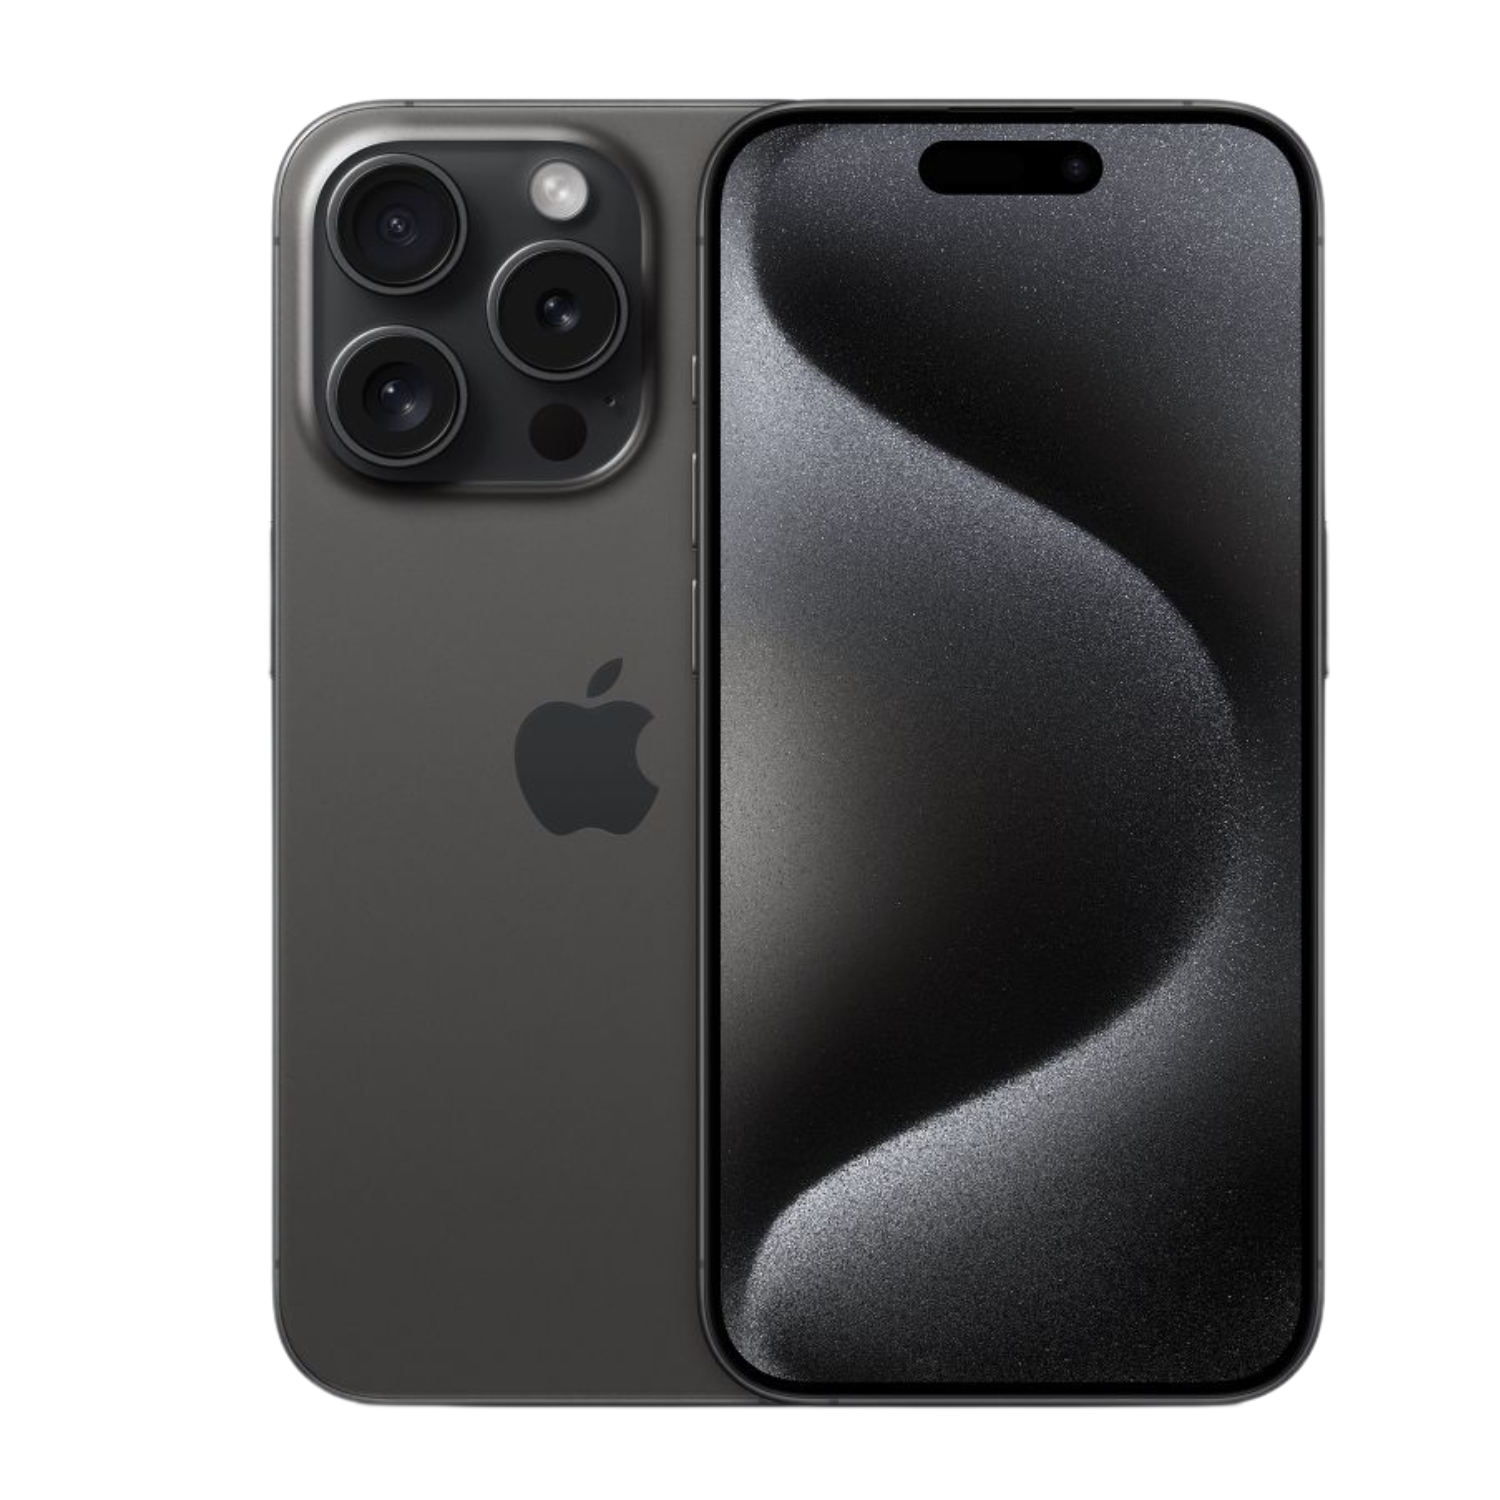
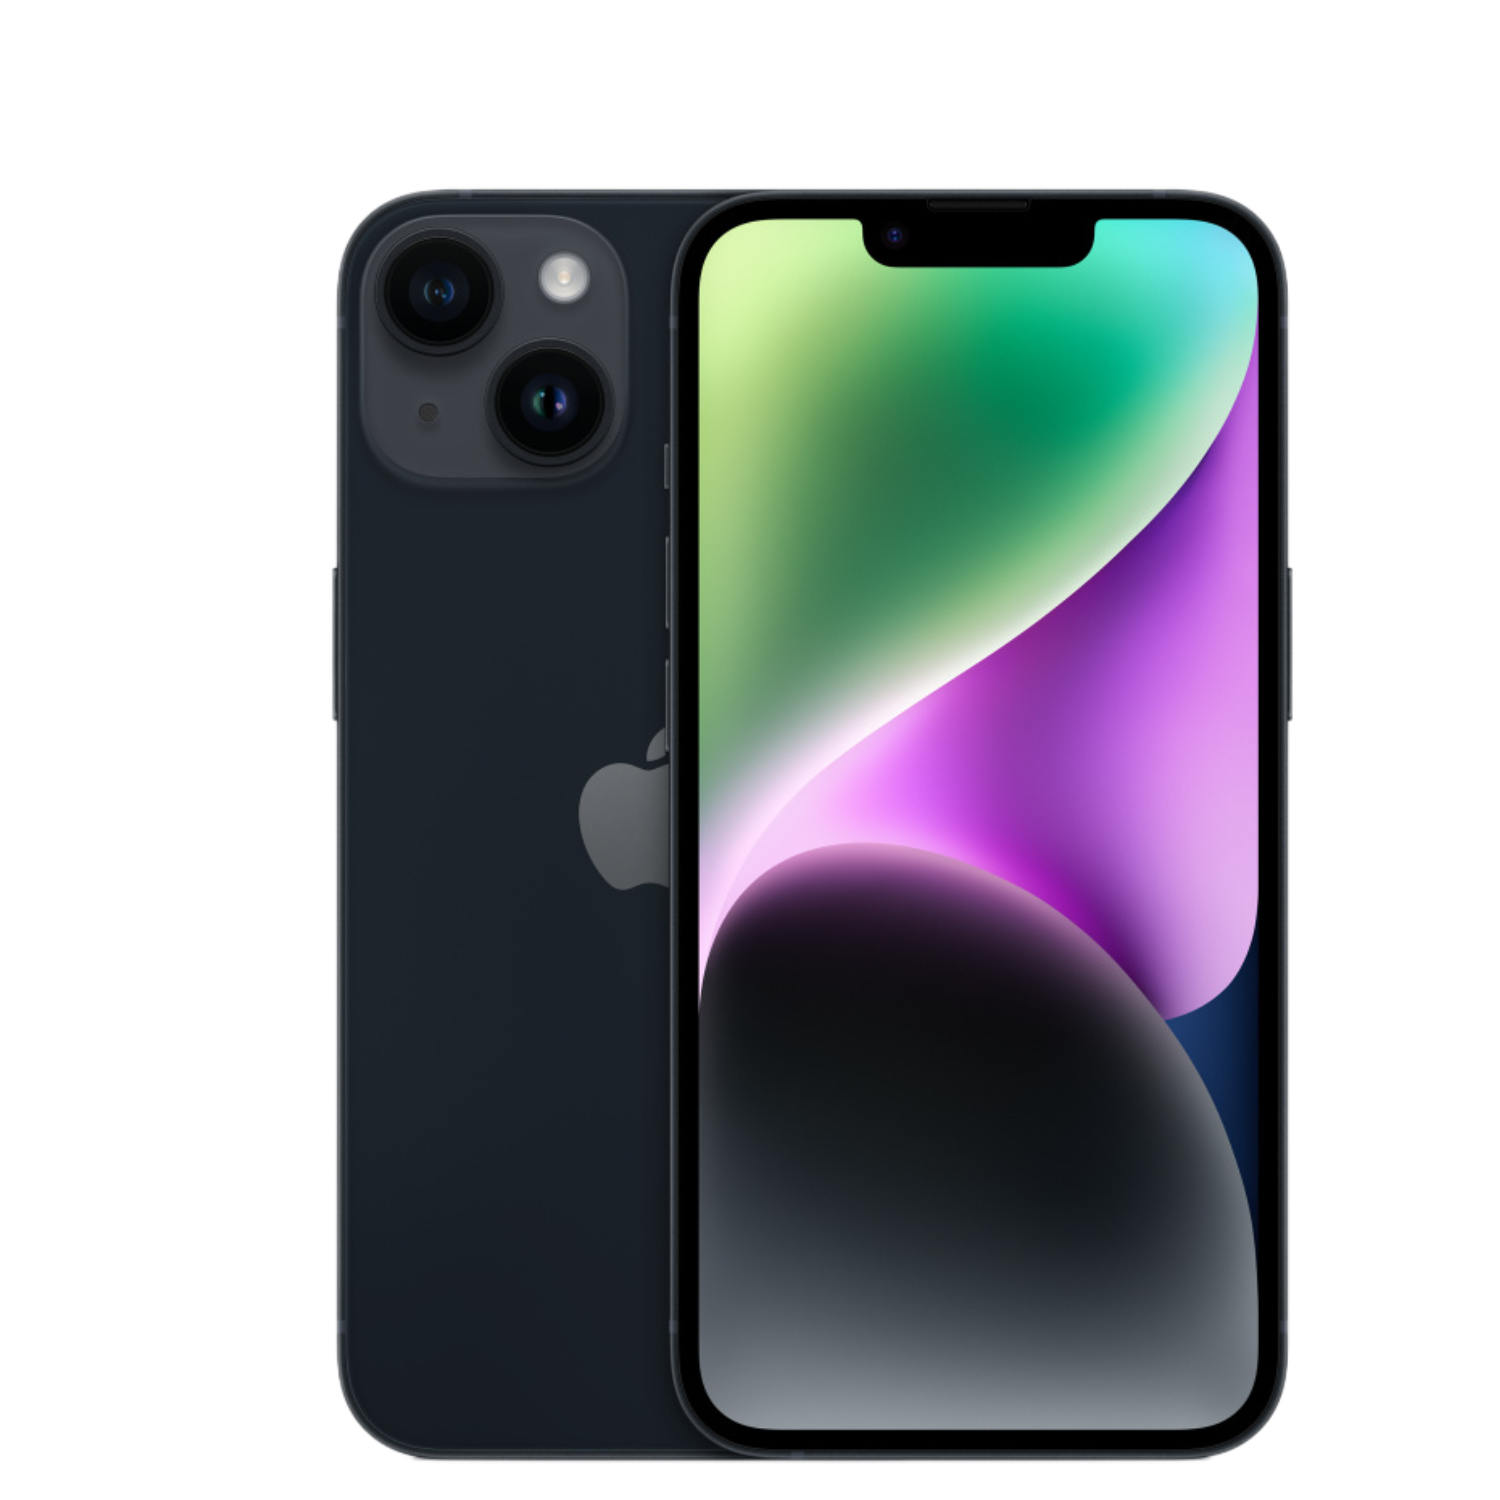
If you’re looking for a more affordable and environmentally friendly alternative, it’s worth considering a refurbished iPhone. UPGREAT offers verified iPhones with warranty that have undergone thorough quality control.
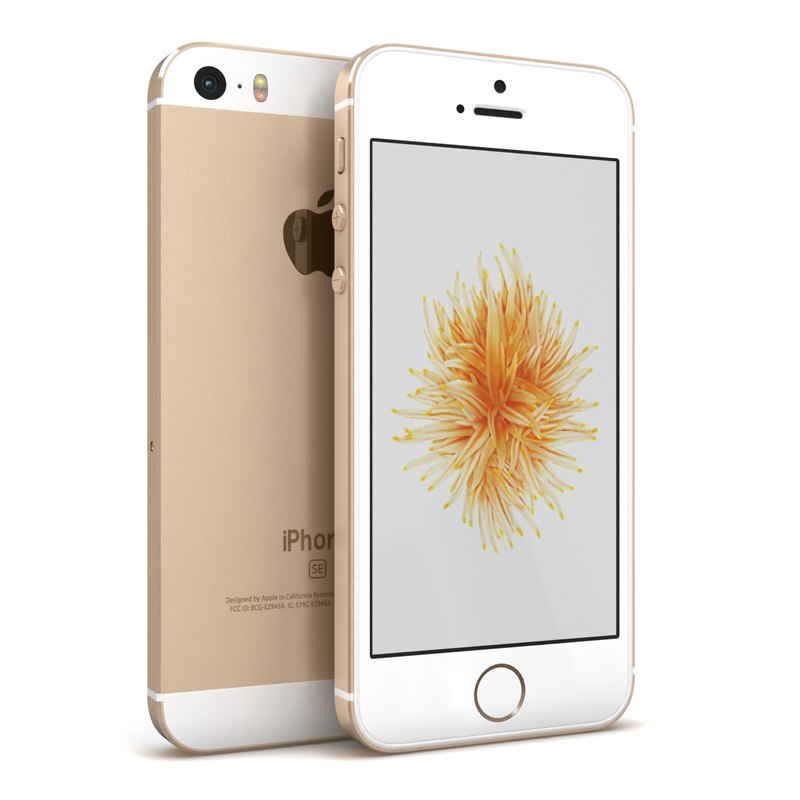
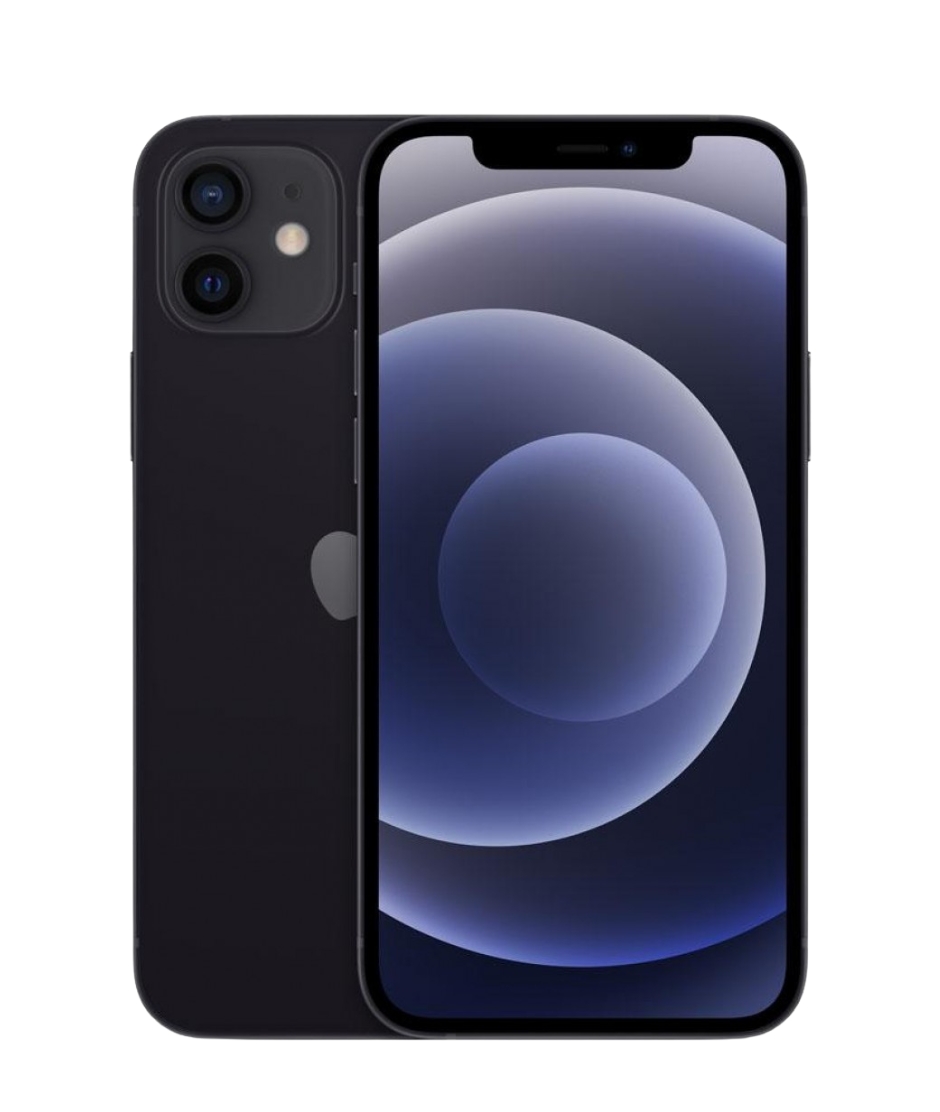
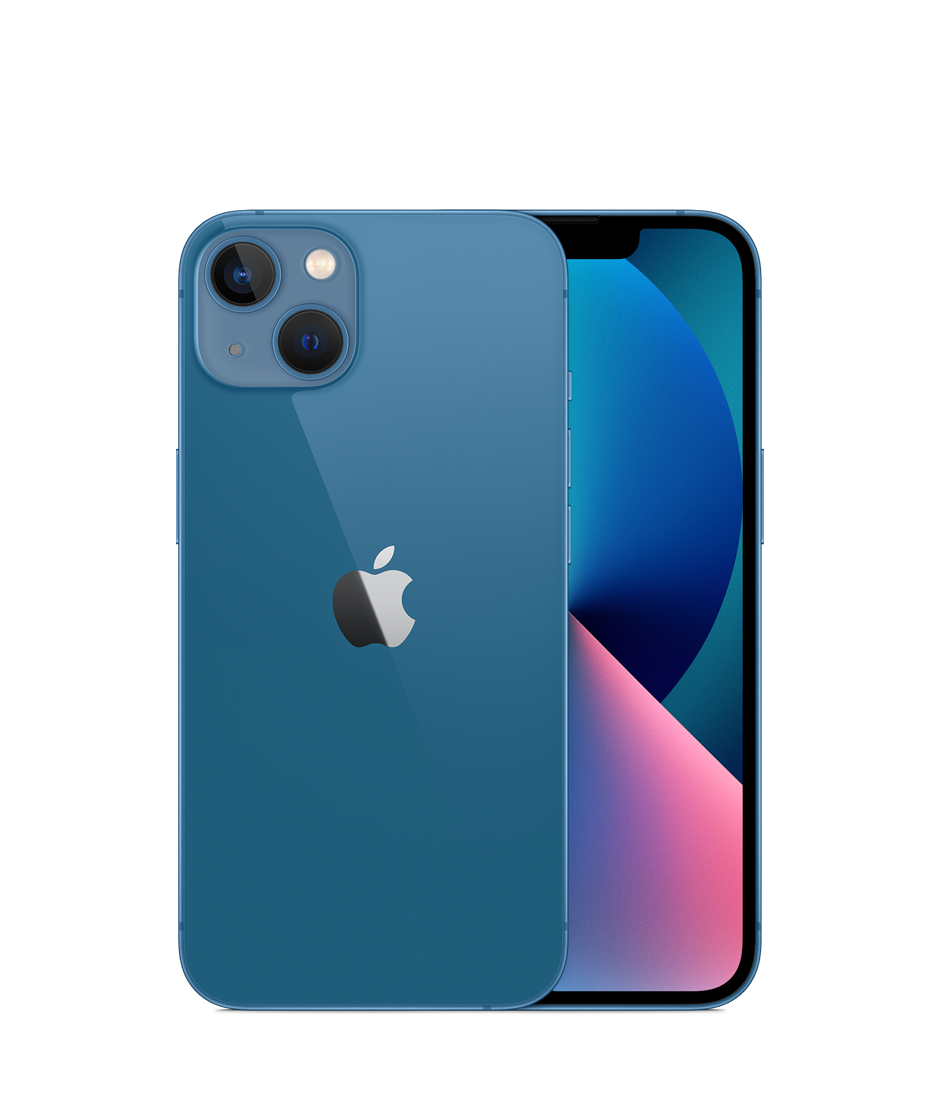
Data transfer to a refurbished iPhone works with exactly the same methods as with a new device. Before transferring, it’s recommended to make sure the device is completely reset to start with a clean slate.
Summary
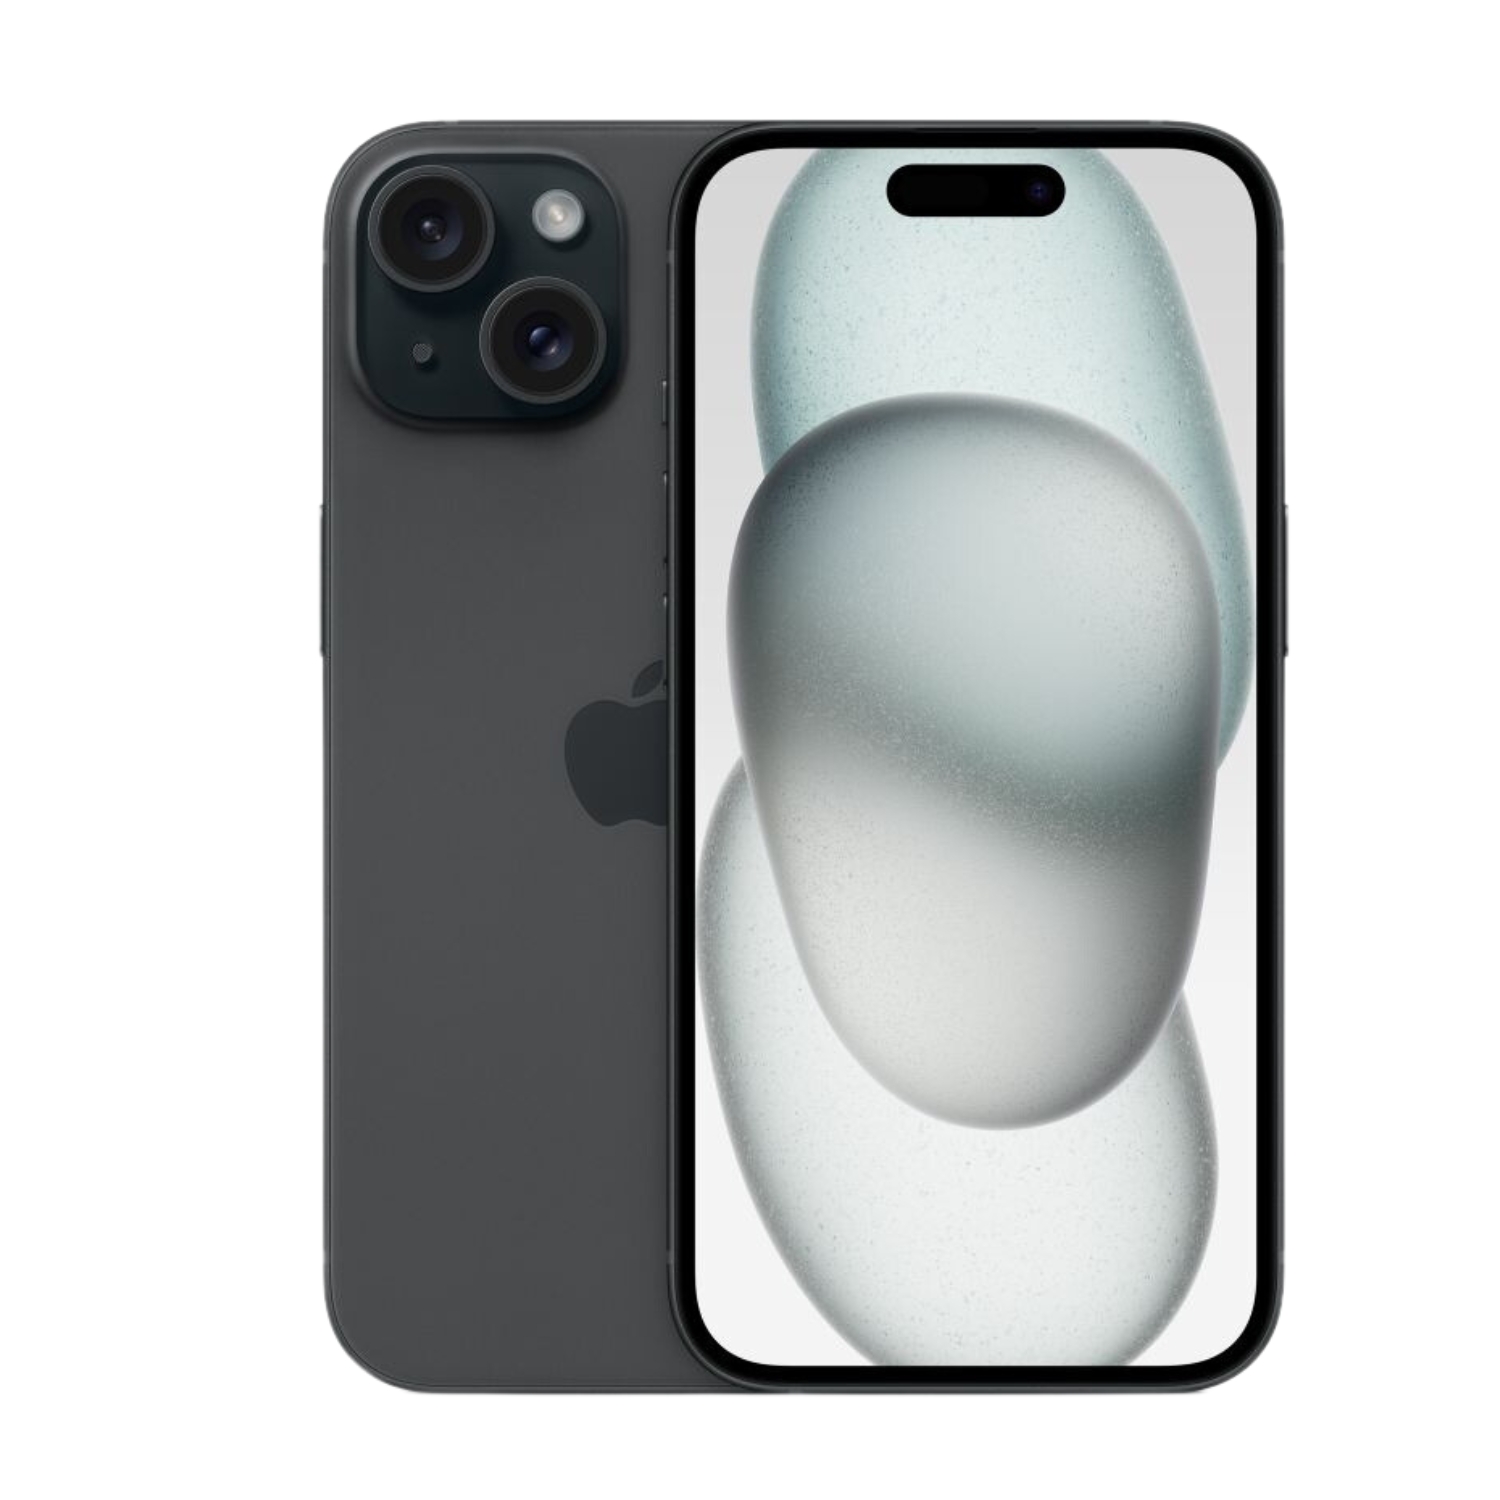
Switching iPhones has become quite simple thanks to Apple’s solutions. The preferred choice for most users is Quick Start, which best preserves app logins and data. However, depending on your situation and preferences, iCloud or wired connection methods may be more suitable.
Always make a complete backup before transferring data to protect your information from potential issues. If you need help setting up your device, UPGREAT also offers Apple device maintenance and repair services.
Check out our blog where we share reviews of trends and news. Find us @ upgreat.ee
To stay updated with Upgreat promotions, add us as a friend on FB or follow us on Instagram.